-
×
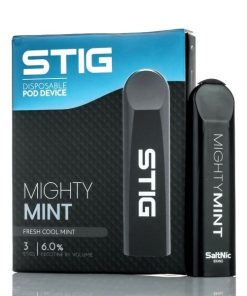
 Stig Disposable – Mighty Mint VGOD Pod Device
2 × د.إ65.00
 -
×
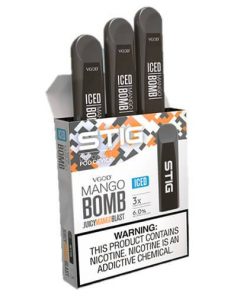
 Stig Disposable – Mango Bomb ICED VGOD Pod Device
1 × د.إ65.00
 -
×
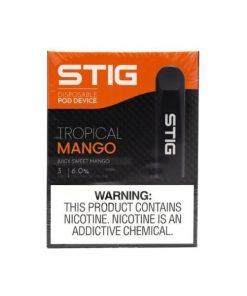
 Stig Disposable – Tropical Mango VGOD Pod Device
1 × د.إ65.00
Blog
How to Open Up a Myle Vape
How to Open Up a Myle Vape
Myle vapes are popular for their sleek design, ease of use, and satisfying vaping experience. However, if you need to open a Myle vape, whether to clean it, refill the pod, or troubleshoot an issue, it’s essential to do it correctly to avoid damaging the device. This guide will walk you through the steps to safely open up a Myle vape.
Understanding Your Myle Vape
Before attempting to open a Myle vape, it’s important to understand its basic components. A typical Myle vape consists of:
- Battery Device: The main body that houses the battery and circuitry.
- Pod: The top part of the device that holds the e-liquid and heating coil.
Myle vapes are designed to be simple and user-friendly, with most models featuring a closed pod system that is not intended to be refilled or disassembled. However, if you want to open it, follow the steps below carefully.
Step-by-Step Guide to Opening a Myle Vape
Step 1: Gather Your Tools
To open a Myle vape, you’ll need a few basic tools:
- A small flathead screwdriver or a thin metal tool.
- A pair of tweezers.
- A clean cloth or paper towel.
Step 2: Remove the Pod
- Turn off the Device: Ensure that the Myle vape is turned off to avoid any accidental activation.
- Gently Pull Out the Pod: Grip the pod at the top of the device and pull it out gently. The pod is usually held in place by magnets or a snug fit, so it should come out with a little force.
Step 3: Open the Pod
- Find the Seams of the Pod: Look for the seams or grooves around the pod. This is where the two halves of the pod are joined together.
- Use the Flathead Screwdriver: Carefully insert the flathead screwdriver or thin metal tool into the seam. Gently twist or pry the tool to separate the two halves of the pod. Be careful not to apply too much force, as this can crack the plastic.
Step 4: Inspect or Refill the Pod
- Inspect the Pod: Once open, you can check for any debris, residue, or damage that might be affecting performance.
- Refill the Pod (if applicable): If you plan to refill the pod, use a syringe or dropper to carefully add e-liquid to the cotton wick area. Be sure to use a compatible e-liquid with the appropriate nicotine strength.
Step 5: Reassemble the Pod
- Snap the Two Halves Back Together: Align the two halves of the pod and press them back together until they snap into place.
- Reinsert the Pod into the Device: Gently slide the pod back into the Myle vape until it clicks securely.
Step 6: Test the Device
- Turn On the Device: Activate your Myle vape and take a test puff to ensure it’s working correctly.
- Check for Leaks or Issues: If you notice any leaks or a burnt taste, consider replacing the pod or inspecting the device for damage.
Important Tips for Handling a Myle Vape
- Be Gentle: Myle vapes are designed to be disposable, so they can be delicate. Apply only as much force as necessary.
- Use Compatible E-Liquids: Only use e-liquids that are compatible with Myle vapes to avoid damage to the pod or device.
- Avoid Overfilling: Overfilling the pod can cause leaks or poor performance.
Conclusion
Opening a Myle vape is straightforward if done carefully. Whether you’re looking to inspect, clean, or refill the pod, following these steps can help you achieve your goal without damaging your device. Always handle your vape with care and use it as intended to ensure the best experience.

